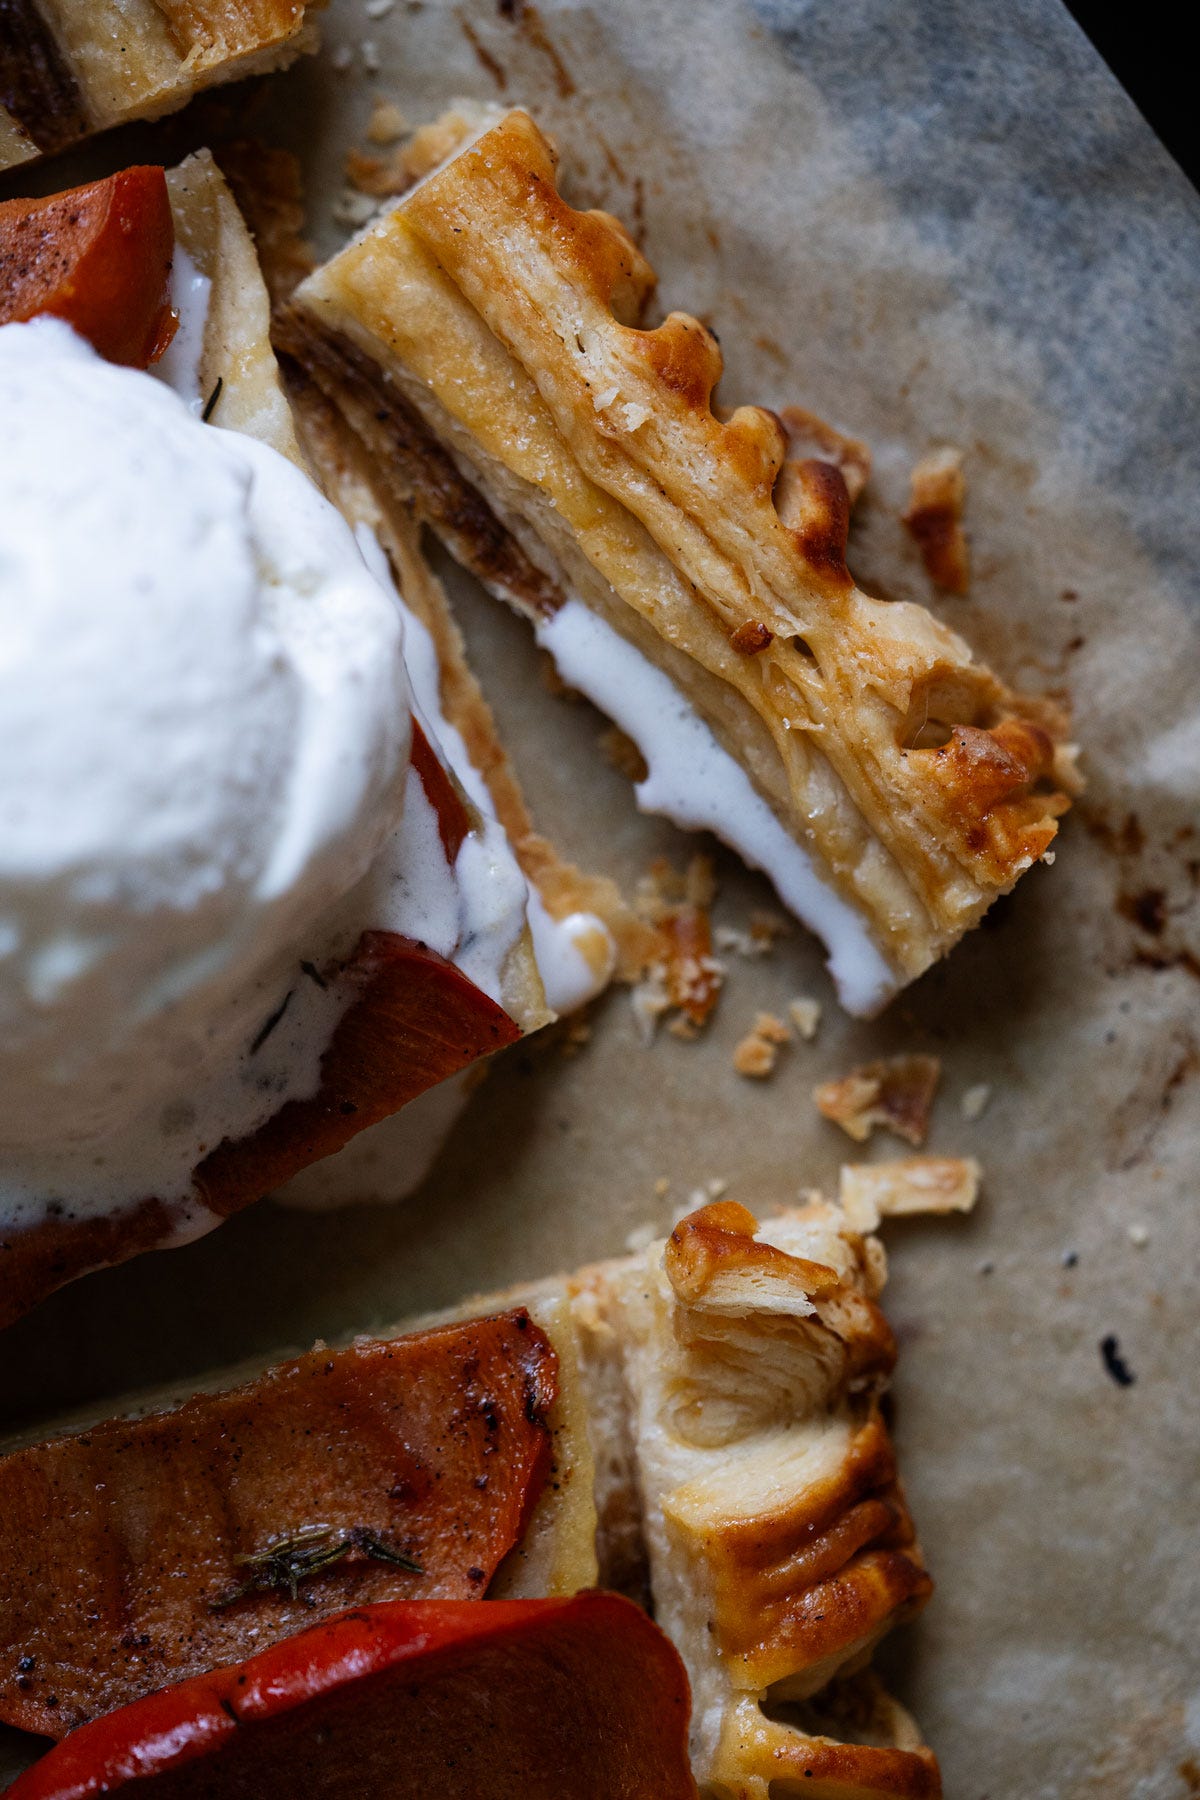
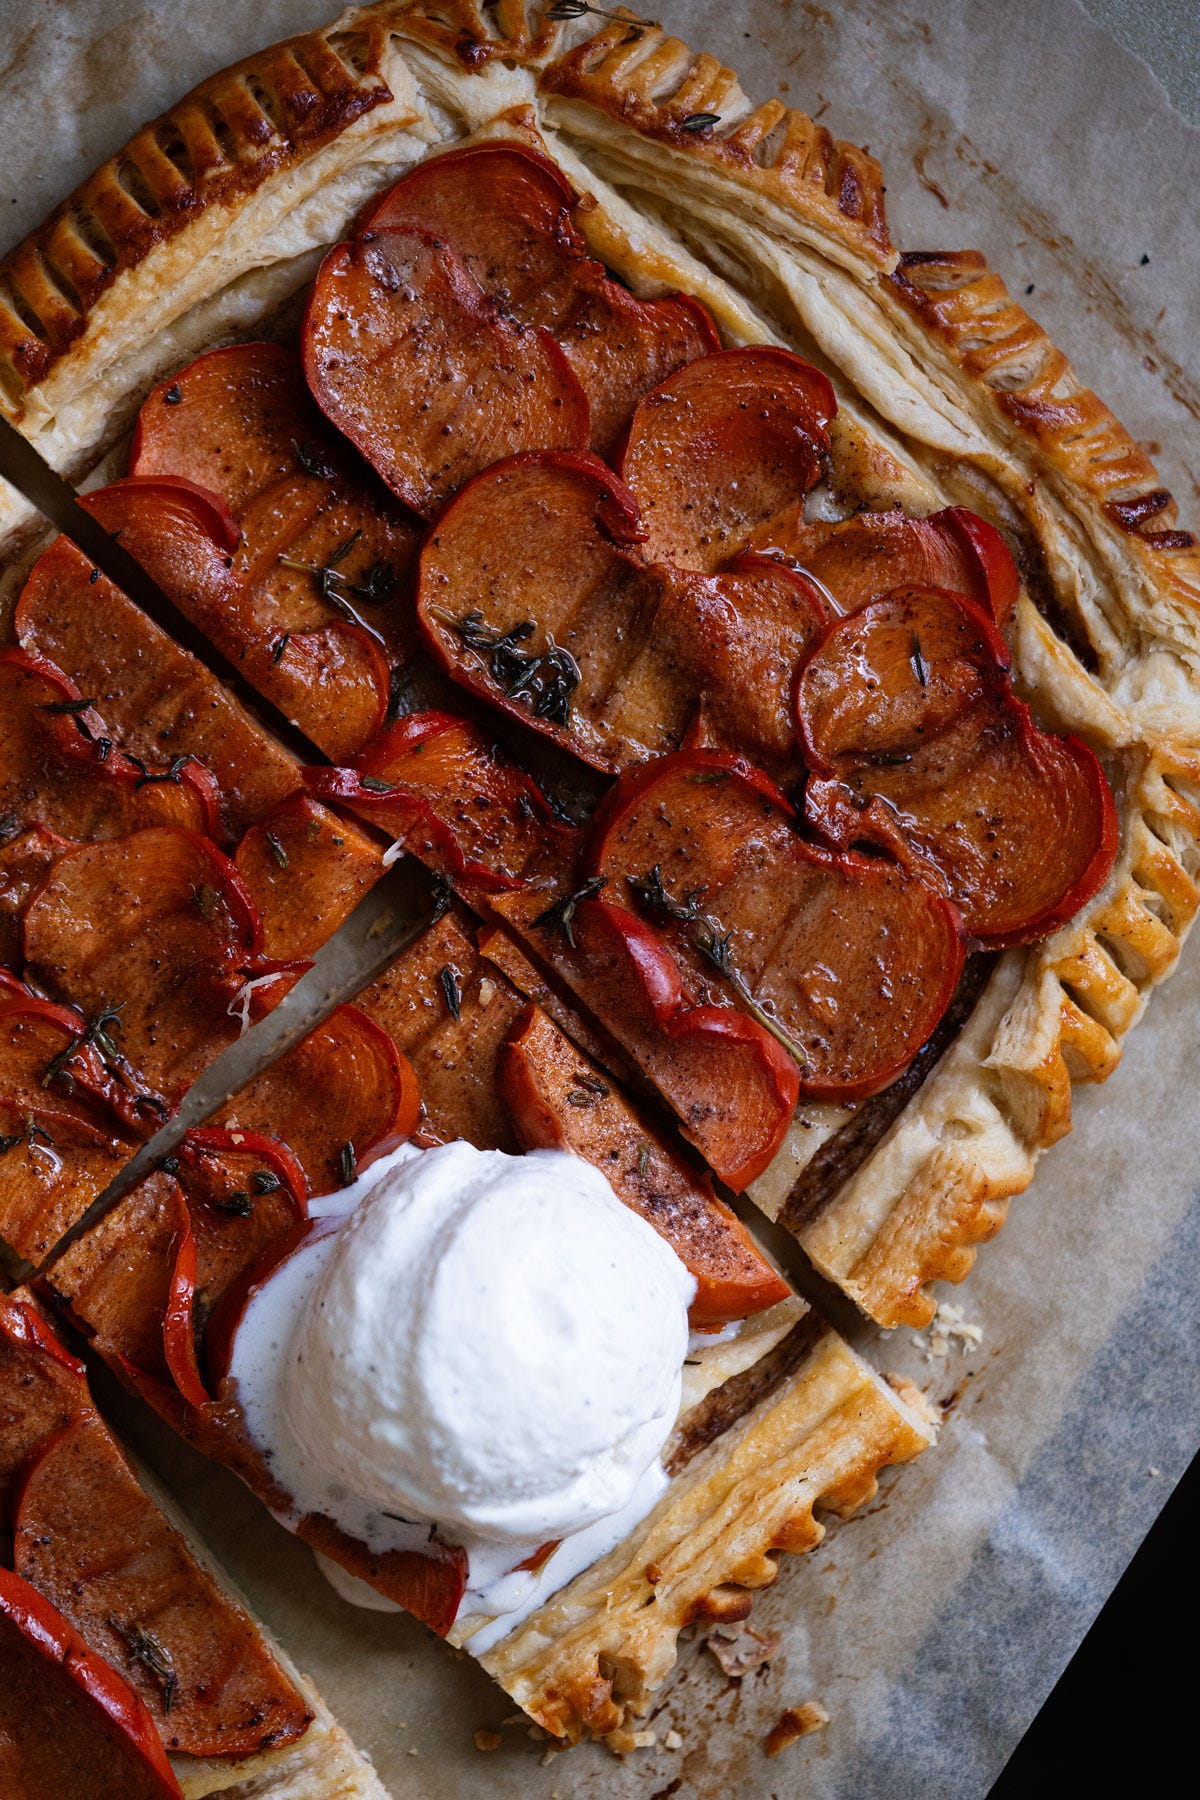
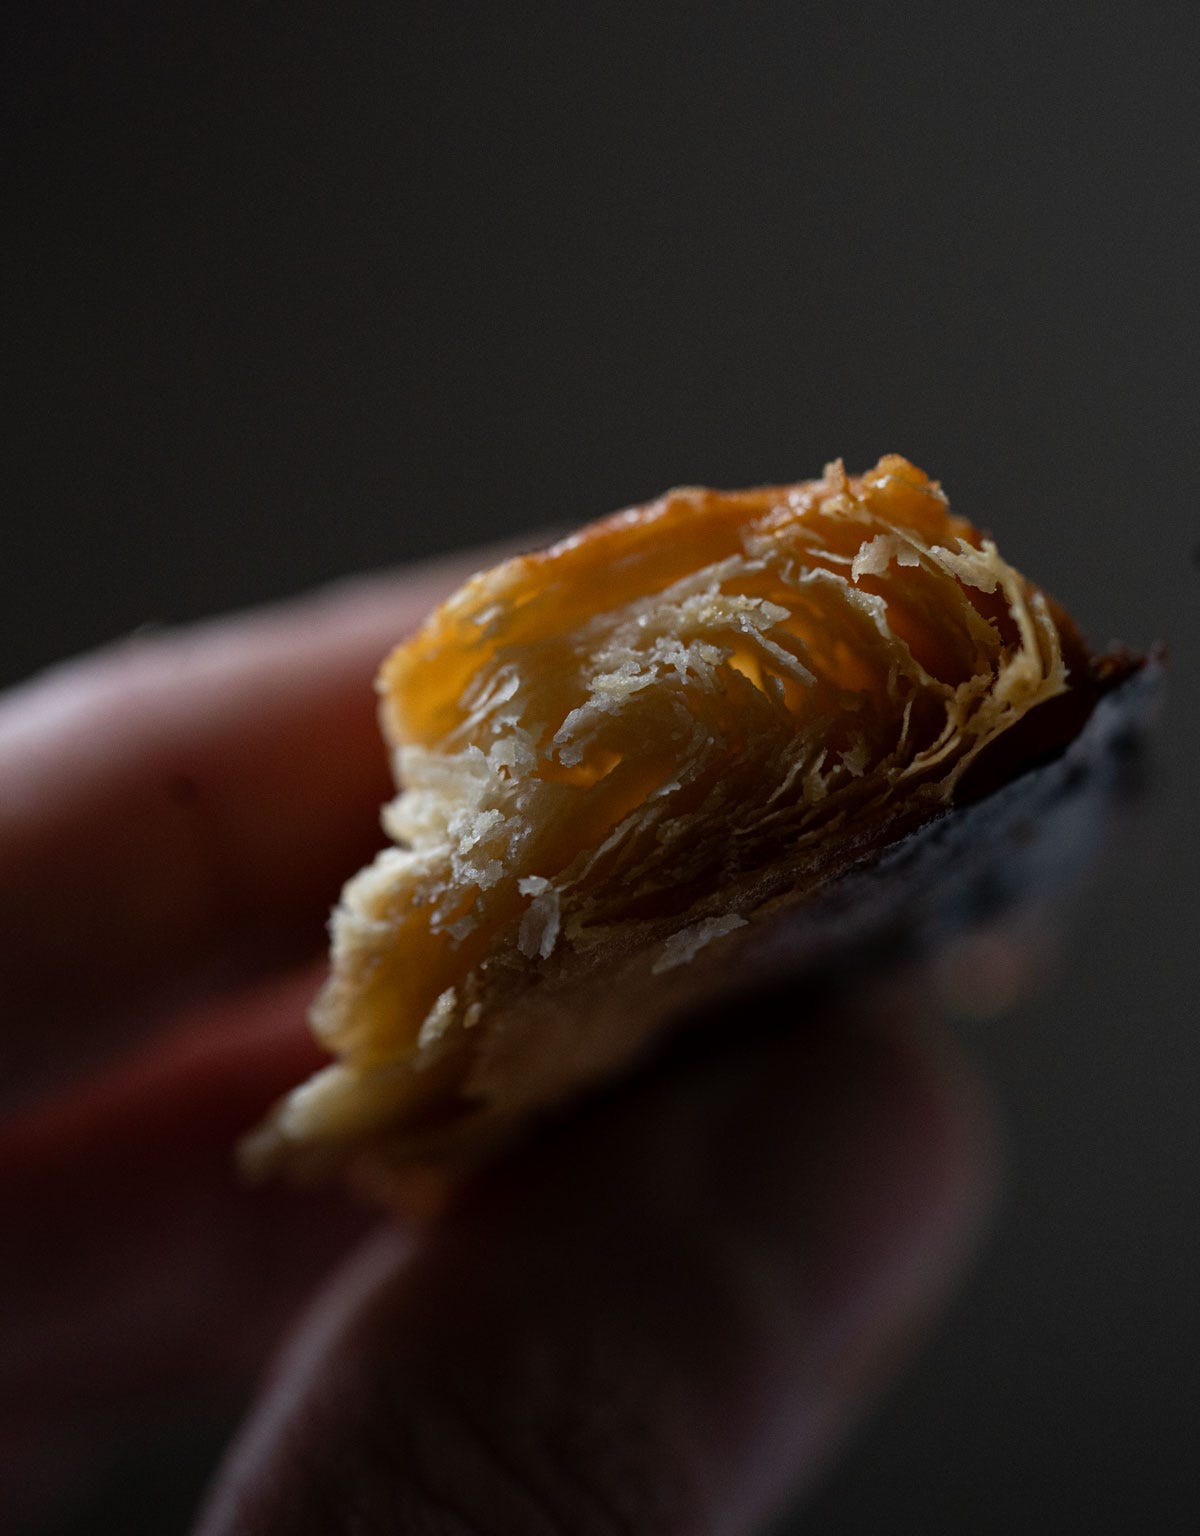
Ultra buttery, extra flaky and nicely layered, this recipe for a sourdough discard rough puff pastry is still simple to make!
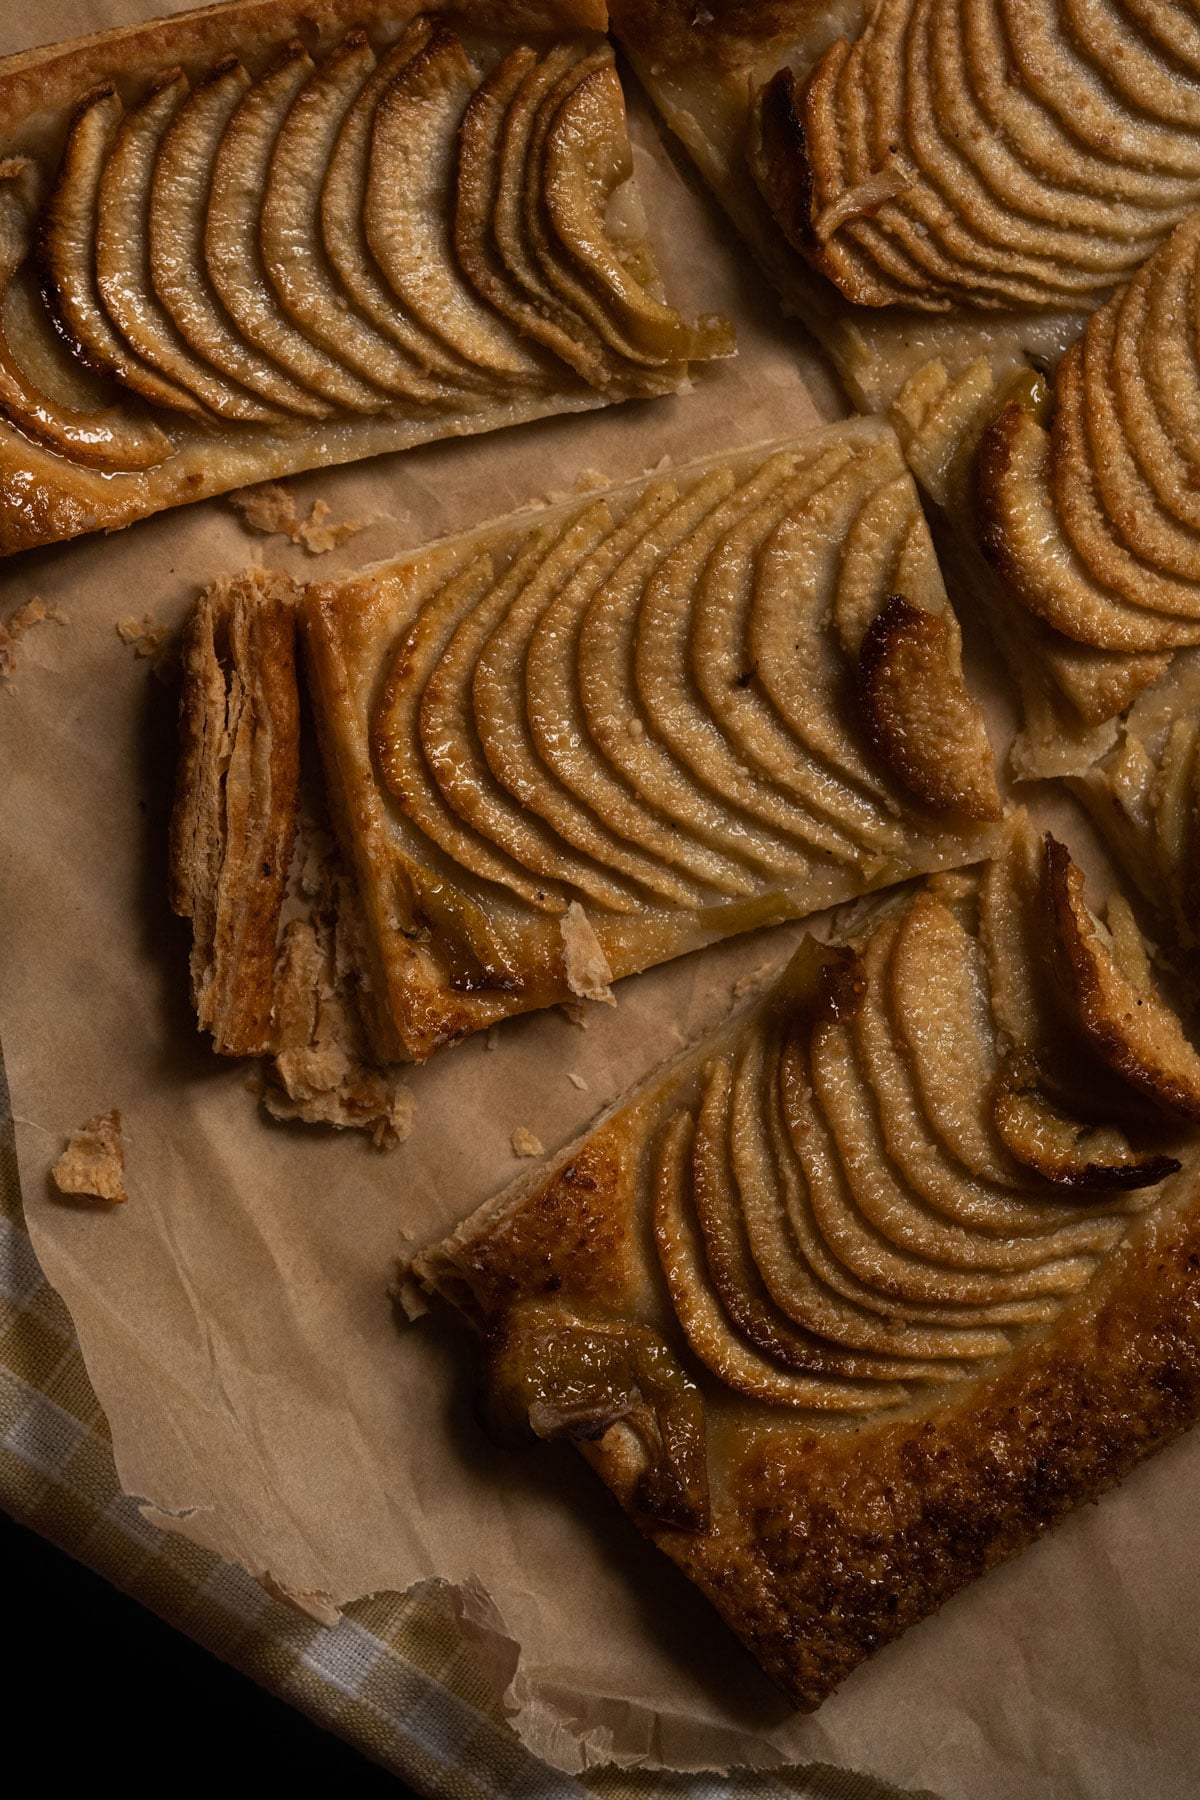
Sourdough Rough Puff Pastry
an easy peasy affair!
First published in my Substack newsletter, this little hack to a puff pastry (for we don’t concern ourselves with a perfect slab of butter here)(or much measuring technicalities).
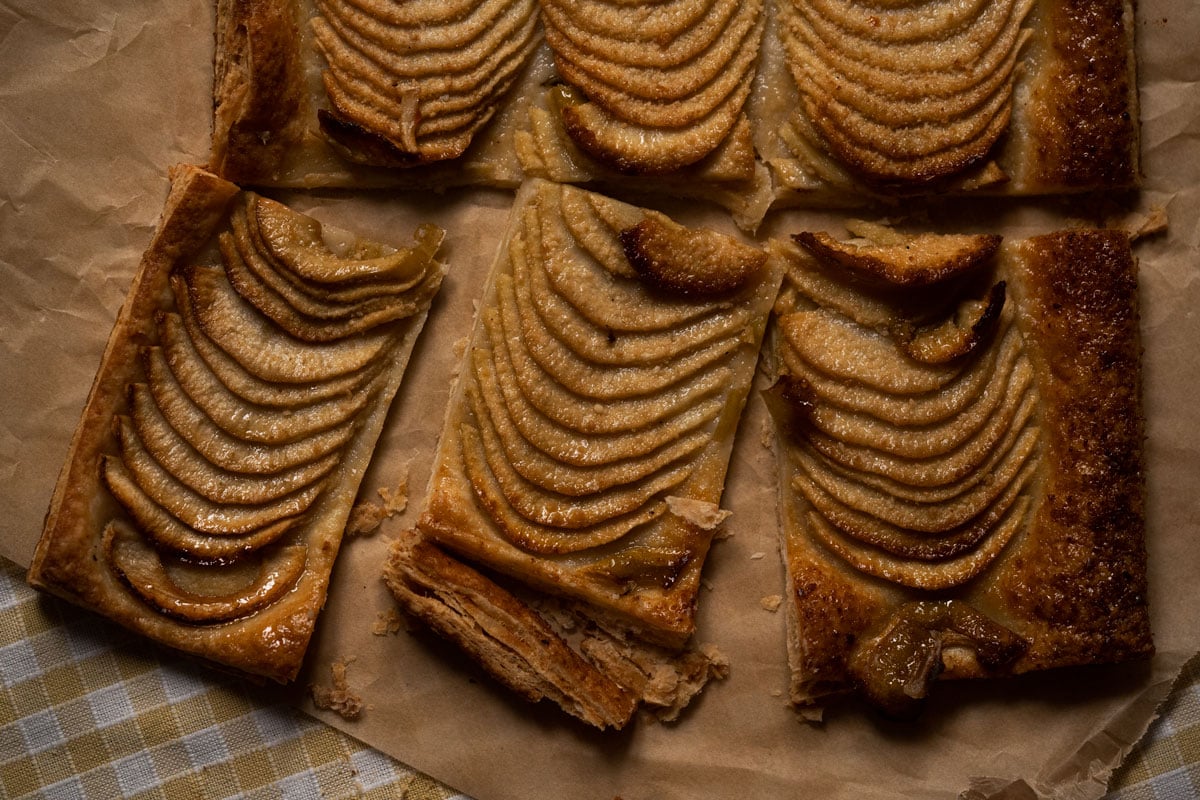
The results are still perfect though, for anything from galettes and tarts, empanadas, to danish pastries, etc.
Plus using your sourdough discard and lightly fermenting it you’ll be reducing the carb count (and gluten!) of your pastry significantly (leave it up to a day in the fridge and, sourdough discard counting, you’ll have reduced your carb count by about a third).
i.e. do let your culture do its thing and work through the dough for best results
p.s. alternatively whip up my (croissant-ish!) sourdough pie crust.
p.p.s. looking to start a sourdough starter? right this way!
The Golden Rule 💫
You want to keep everything chilled *constantly* so that the butter doesn’t melt and wreck your layers.
And, vip again, you can also technically whip up a batch in an afternoon. Though I do find that allowing it to ferment for a day (or three) in the fridge is always the most gut-friendly option (you’ll see light bubbling throughout, particularly if your discard was still fairly active).
So I suppose that is also worthy of note in this recipe– how old your sourdough discard is will surely affect weather or not your pastry ferments at all (yes, you can definitely use active starter if fermentation is important to you).
Sourdough Rough Puff Pastry
Ingredients
- 160 g unbleached flour
- 3 g kosher salt
- 170 g unsalted grass-fed butter cold
- 100 g sourdough discard can also use active for more fermentation
- 4-5 tablespoons water ice cold
- egg wash optional (for glossy finish)
Instructions
- Whisk flour, sugar and salt together in a large bowl.
- Add cubed butter, rubbing it with our fingertips briefly to incorporate until the butter is all lightly coated. You want to work quickly to ensure you don’t actually melt the butter (you know!).
- Incorporate the sourdough discard, continuing to rub everything gently until it begins to come together into sticky clumps. And incorporate 3 tablespoons of water to start– the mixture will feel a bit dry and won’t easily come together (to accommodate for the hydration of the discard), but simply turn it out unto your countertop and begin to fold it in using a bench scraper until it just comes together.
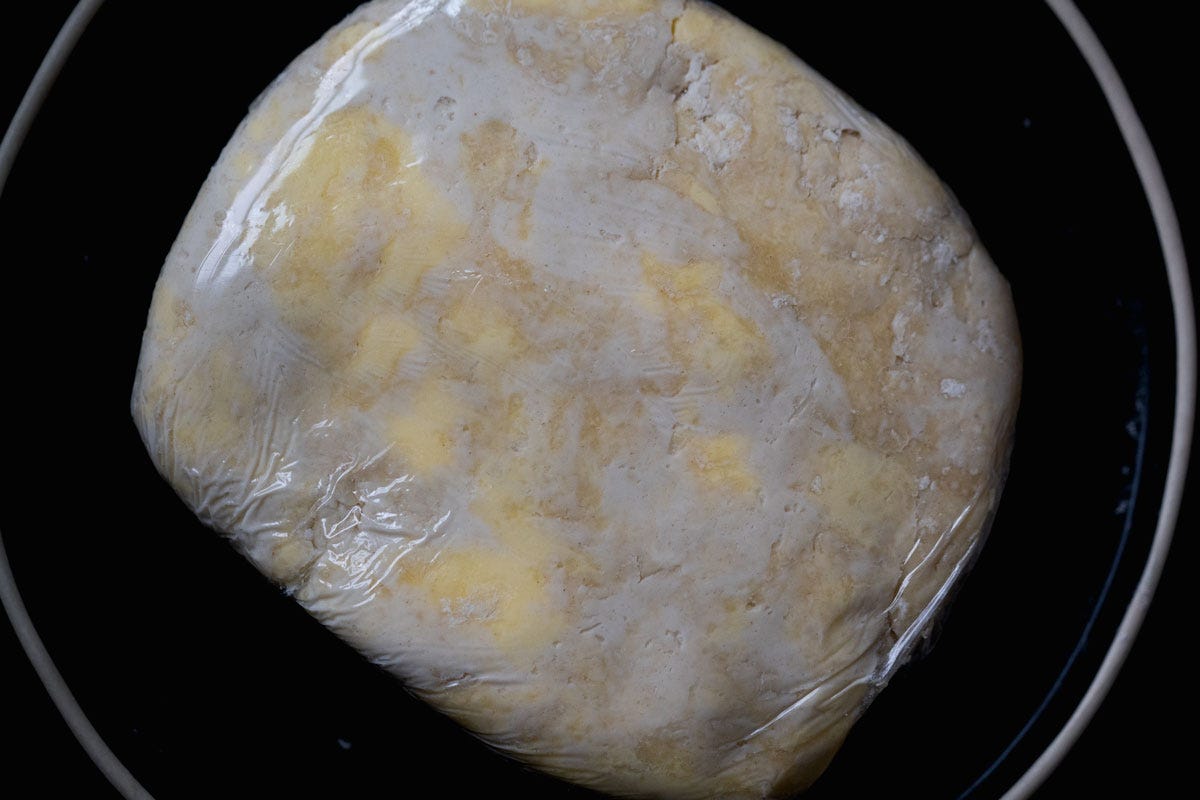
- Wrap it in cling film, pressing it all together firmly to loosely shape into a rectangle (you should see all your big butter bits throughout!).
- Refrigerate for at least 2 hours, but preferably overnight (and up to 3 days) to allow it to hydrate thoroughly– and so we get a bit of fermentation going, but note that you won’t see much visible action here given the fat ratio.
- Roll out your dough on a well floured countertop until approximately 6 by 12 inches in size (don’t sweat it if your work isn’t ultra precise, it doesn’t need to be in order to get layers- the most important thing is to try and get a consistent thickness)(that said, if you want to practice perfection for our croissant olympics go for it!).
- Fold in your edges into thirds (think how you fold paper to put in an envelope), rotate 90 degrees and roll out again into a rectangle roughly 6 by 12 inches in size and fold again.
- Repeat five more times (for a total of 6 roll ‘n folds). Usually you will need to chill the dough after the third one, also to relax the gluten a bit as you’ll notice it becomes increasingly difficult to roll out. And do note that if your house runs warm you may need to chill the dough a few times in between. Note: I’ve allowed the dough to ferment in the fridge for 5 days at this point and it still came out nice and puffy (but it can also be frozen at this point).
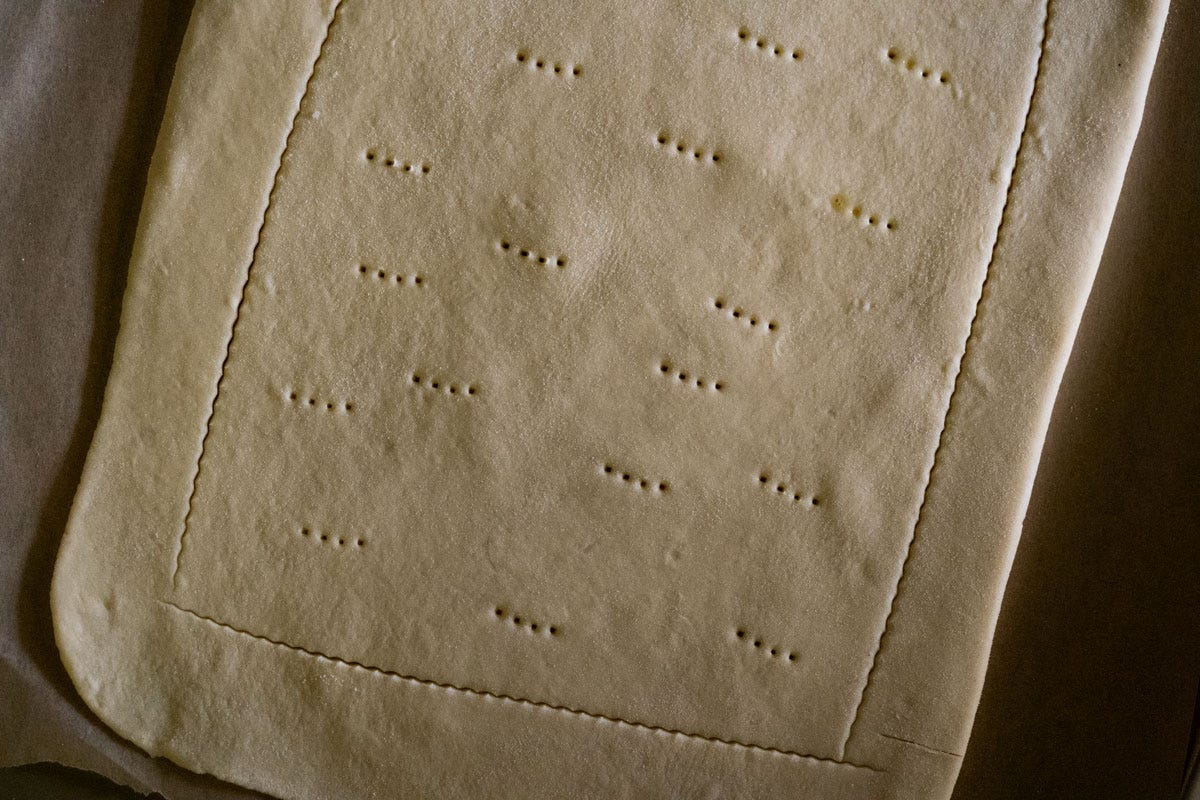
- Roll out your puff pastry between two sheets of parchment, trim as desired and place in the freezer for 15 minutes. You’ll want to work quickly and in a cool environment, and if it becomes unmanageable at any point simply pop it in the freezer for 5-10 minutes. Use in desired recipe (or assemble as a galette or tart with freshly sliced fruit!)
- Preheat oven to 380°F/190°C.
- Take the crust out of the freezer, add the fruit slices of choice in the center, brush with melted butter and topping off with a drizzle of sugar (or honey), a sprinkle of vanilla bean powder.
- Brush with egg wash and bake for 35-45 minutes until fully golden. I’ve noticed the baking time here varies a lot from oven to oven (particularly if it runs hot on the bottom vs convection), so just keep an eye out for it from minute 25. note: I had to cover a couple of my edges with foil after 15 minutes so do keep an eye on it!
- Allow to rest for 15 minutes so it crisps up, and serve warm with vanilla bean ice cream (pretty please!).
Video
