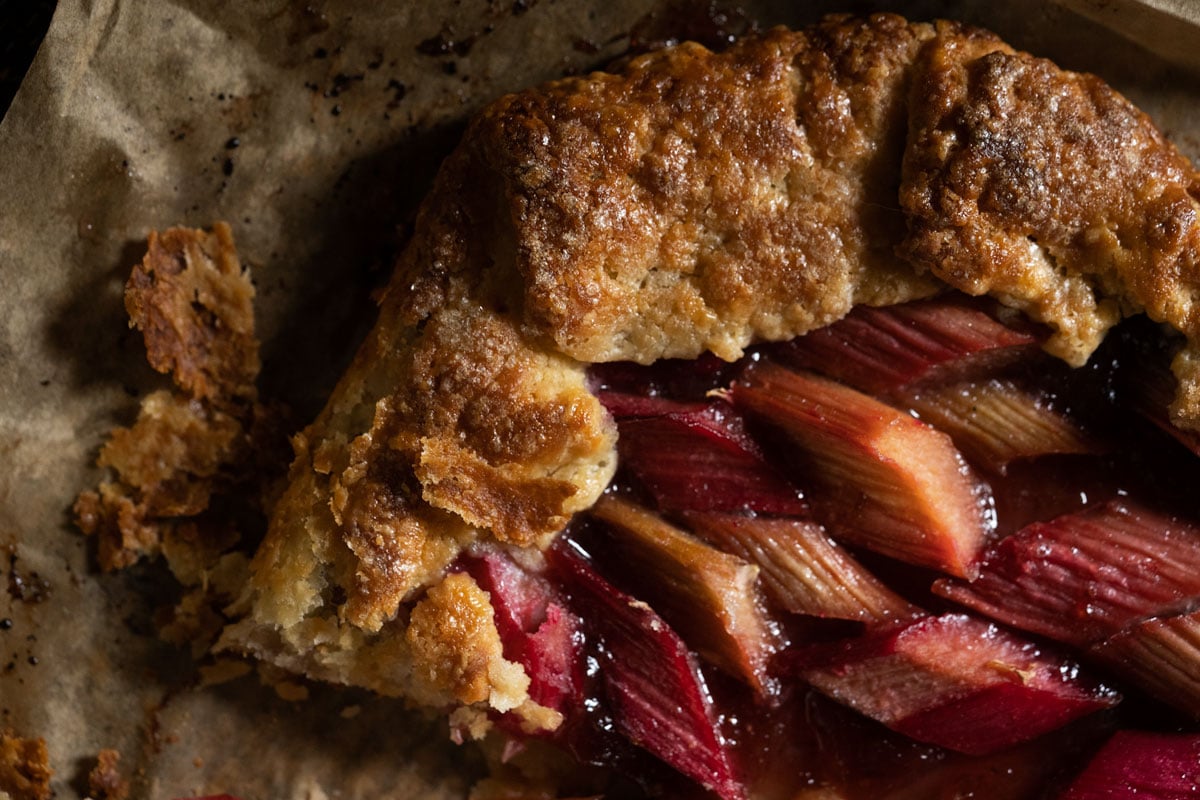
Meet my sourdough discard pie crust: flaky, ultra buttery and lightly fermented it definitely gives croissant-meets-pie vibes.
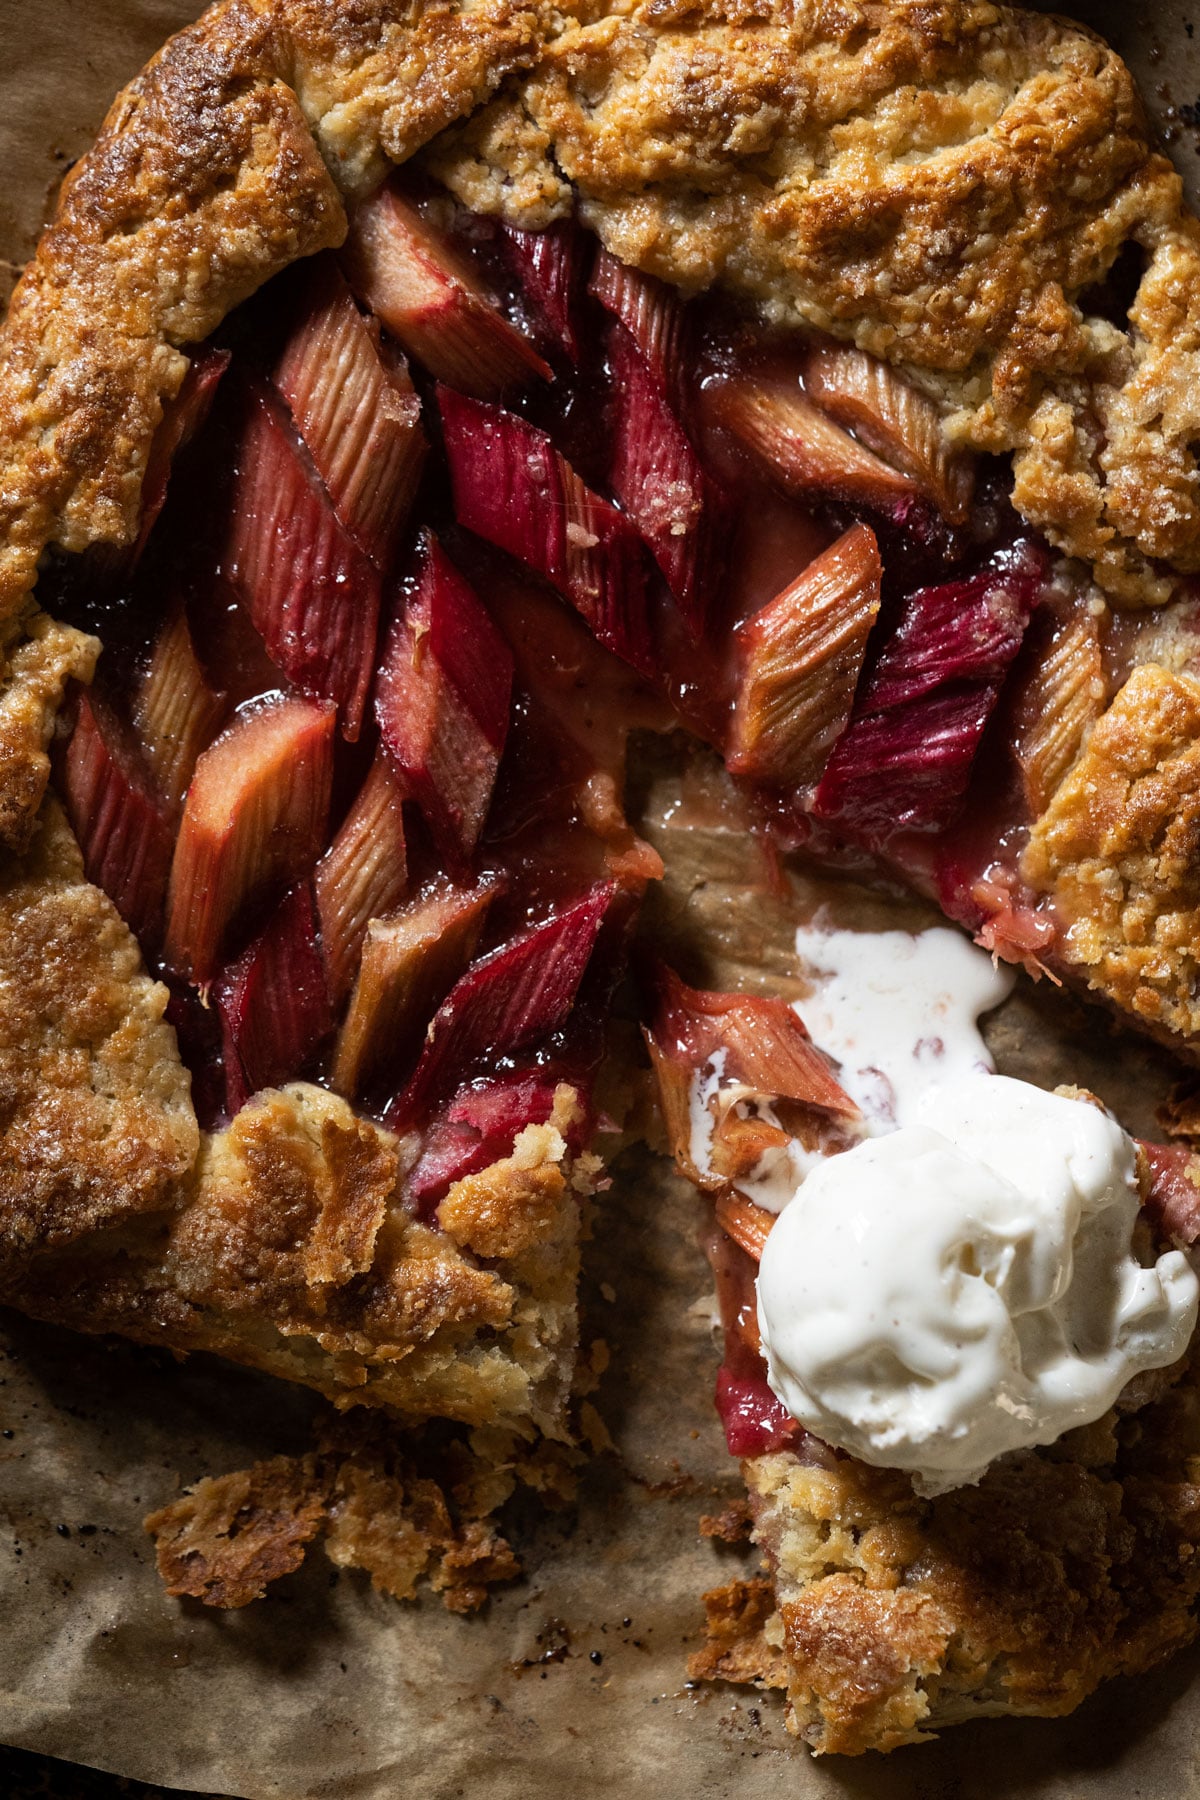
Sourdough Discard Pie Crust 🥧
extra flaky and buttery!
An incredibly easy to whip up pie crust– use frozen grated butter and do it by hand, or just pulse everything gently in your food processor until it just comes together.
Great for using up both discard and active sourdough starter alike, this recipe peaks if you allow your dough to gently ferment overnight.
Use it up in anything from pies (both sweet and savory!) to empanadas and quiches.
the deets
If I can sum it all up for you in one sentence it would be: keep it cold! Because if you want to achieve those extra flaky layers you really want the butter to maintain its shape throughout (i.e. stay in pea-sized pockets throughout the dough rather than melt through).

Otherwise, again, I highly suggest allowing your dough to ferment in the fridge overnight (yes, unless your discard is ancient, it will still be active enough to wake up and ferment your dough)- for this really kicks the flavor up a notch, giving us those fermented buttery layers (so if you want to use active starter to speed things up, be my guest!).
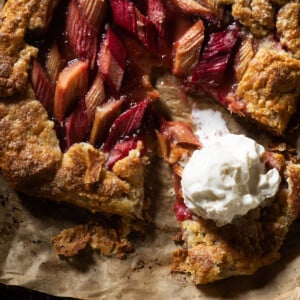
(Croissant-ish!) Sourdough Discard Pie Crust
Ingredients
- 130 g unbleached flour
- 1 tablespoon granulated sugar
- 1/4 teaspoon kosher salt
- 113 g unsalted grass-fed butter cold
- 100 g sourdough discard
- egg wash optional (for glossy finish)
Instructions
- Whisk flour, sugar and salt together in a large bowl.
- Add frozen grated butter, rubbing it with our fingertips briefly to incorporate until the butter is all lightly coated. You want to work quickly to ensure you don’t actually melt the butter (you know!).
- Incorporate the sourdough discard, continuing to rub everything gently until it begins to come together into sticky small clumps. The mixture will feel a bit dry and won’t easily come together (to accommodate for the hydration of the discard), but simply turn it out unto a piece of cling film on your counter, wrap it and press it all together firmly to shape into a disc (you should see all your little butter bits throughout!). p.s. if you notice your dough is very dry, do feel free to add one tablespoon of ice cold water at a time until the dough just comes together into a round.
- Refrigerate for at least 1 hour, but preferably overnight (and up to 3 days) to allow it to hydrate thoroughly– and so we get a bit of fermentation going, but note that you won’t see much visible action here given the fat ratio.
- Roll out your pie crust between two sheets of parchment paper into a circular shape. Place in the freezer for 15 minutes (particularly important if you’re working in a warm place). You’ll want to work quickly and in a cool environment, and if the crust becomes unmanageable at any point simply pop it in the freezer for 5-10 minutes.
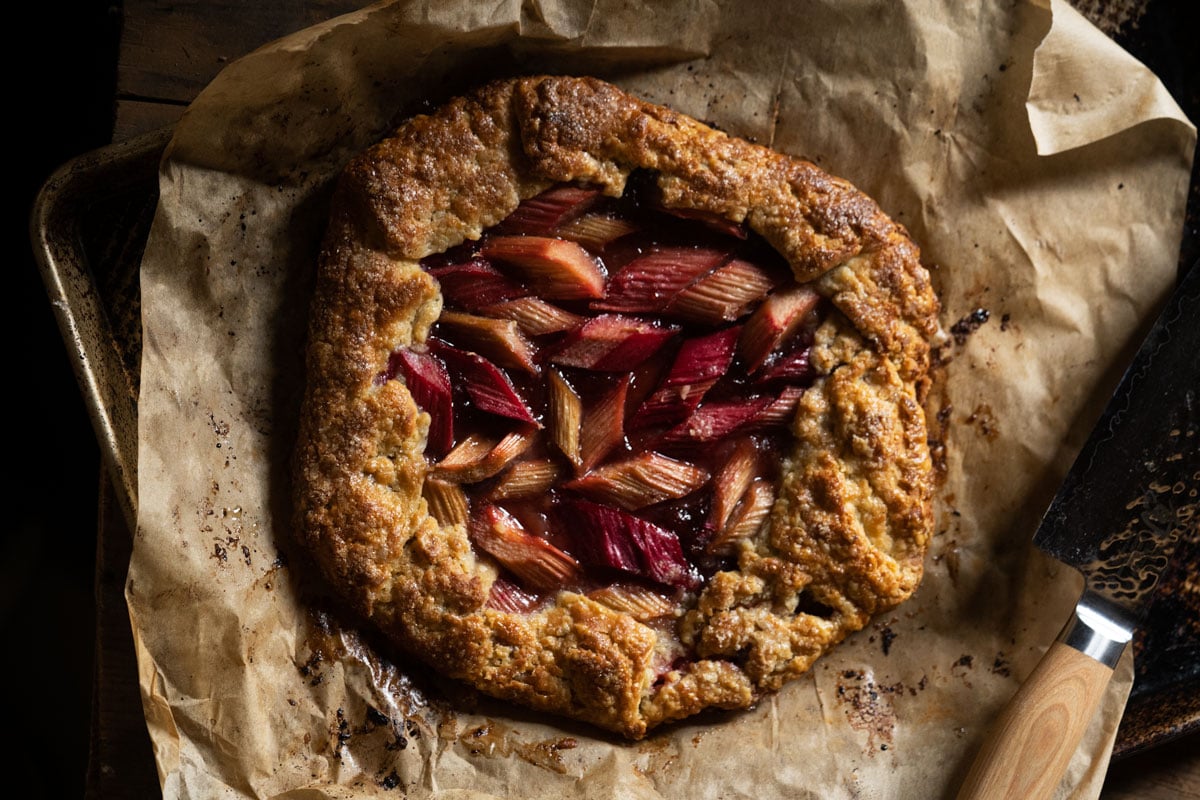
- Preheat oven to 380°F/190°C. Mix together your filling of choice (simply did some sugary rhubarb here with a strawberry jam base).
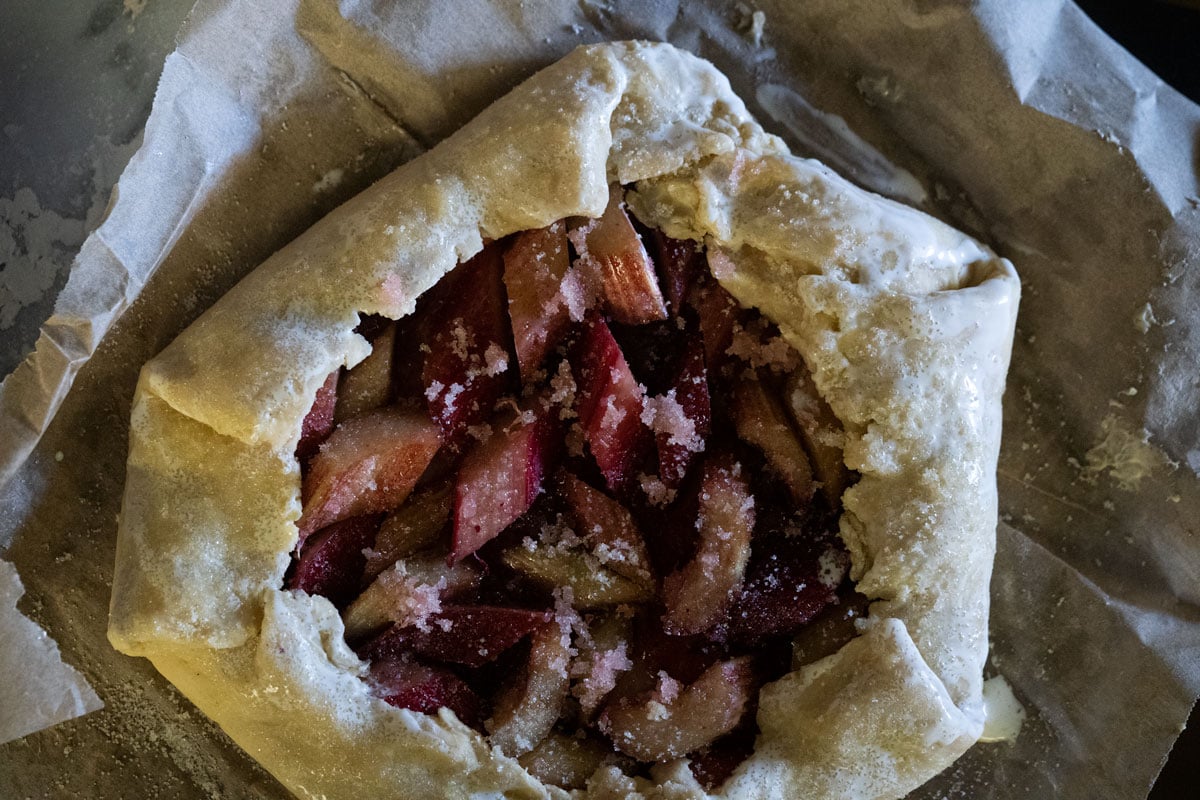
- Take the crust out of the freezer, spread the jam on the center, add the filling and fold in the edges to shape into a galette. If there are any cracks simply press them together with your fingers.
- Place in the freezer for 15 minutes, brush with egg wash, sprinkle some more granulated sugar and bake for 35-45 minutes until fully golden. I’ve noticed the baking time here varies a lot from oven to oven (particularly if it runs hot on the bottom vs convection), so just keep an eye out for it from minute 25.
- Allow to rest for 15 minutes, and serve warm with vanilla bean ice cream (pretty please!).
Oh how I’m dreaming of enjoying a delicious pie! Does anyone have suggestions for adapting this recipe to make the crust gluten free?
Linda hi!! It’s so nice to read you again 🙂 worry not, I’ll be adapting still recipes for gluten free bakers like yourself
Have you considered publishing a cookbook?
Perhaps one day Anne Marie that would be a dream (but I need to get back on the grind first, sort of say) 😉
Will need to make and report back this weekend! I’m certainly glad you’re back with all these sourdough goodies. Can I put in a request though? Oatmeal cookies!
Oatmeal cookies duly noted Carol (turns out they’re my favorite for ice cream pies!). I hope you enjoy baking up a good pie this weekend though xo!