Courtesy of using a sweet stiff starter, these sourdough donuts end up being the absolute fluffiest (of the fluffiest!).
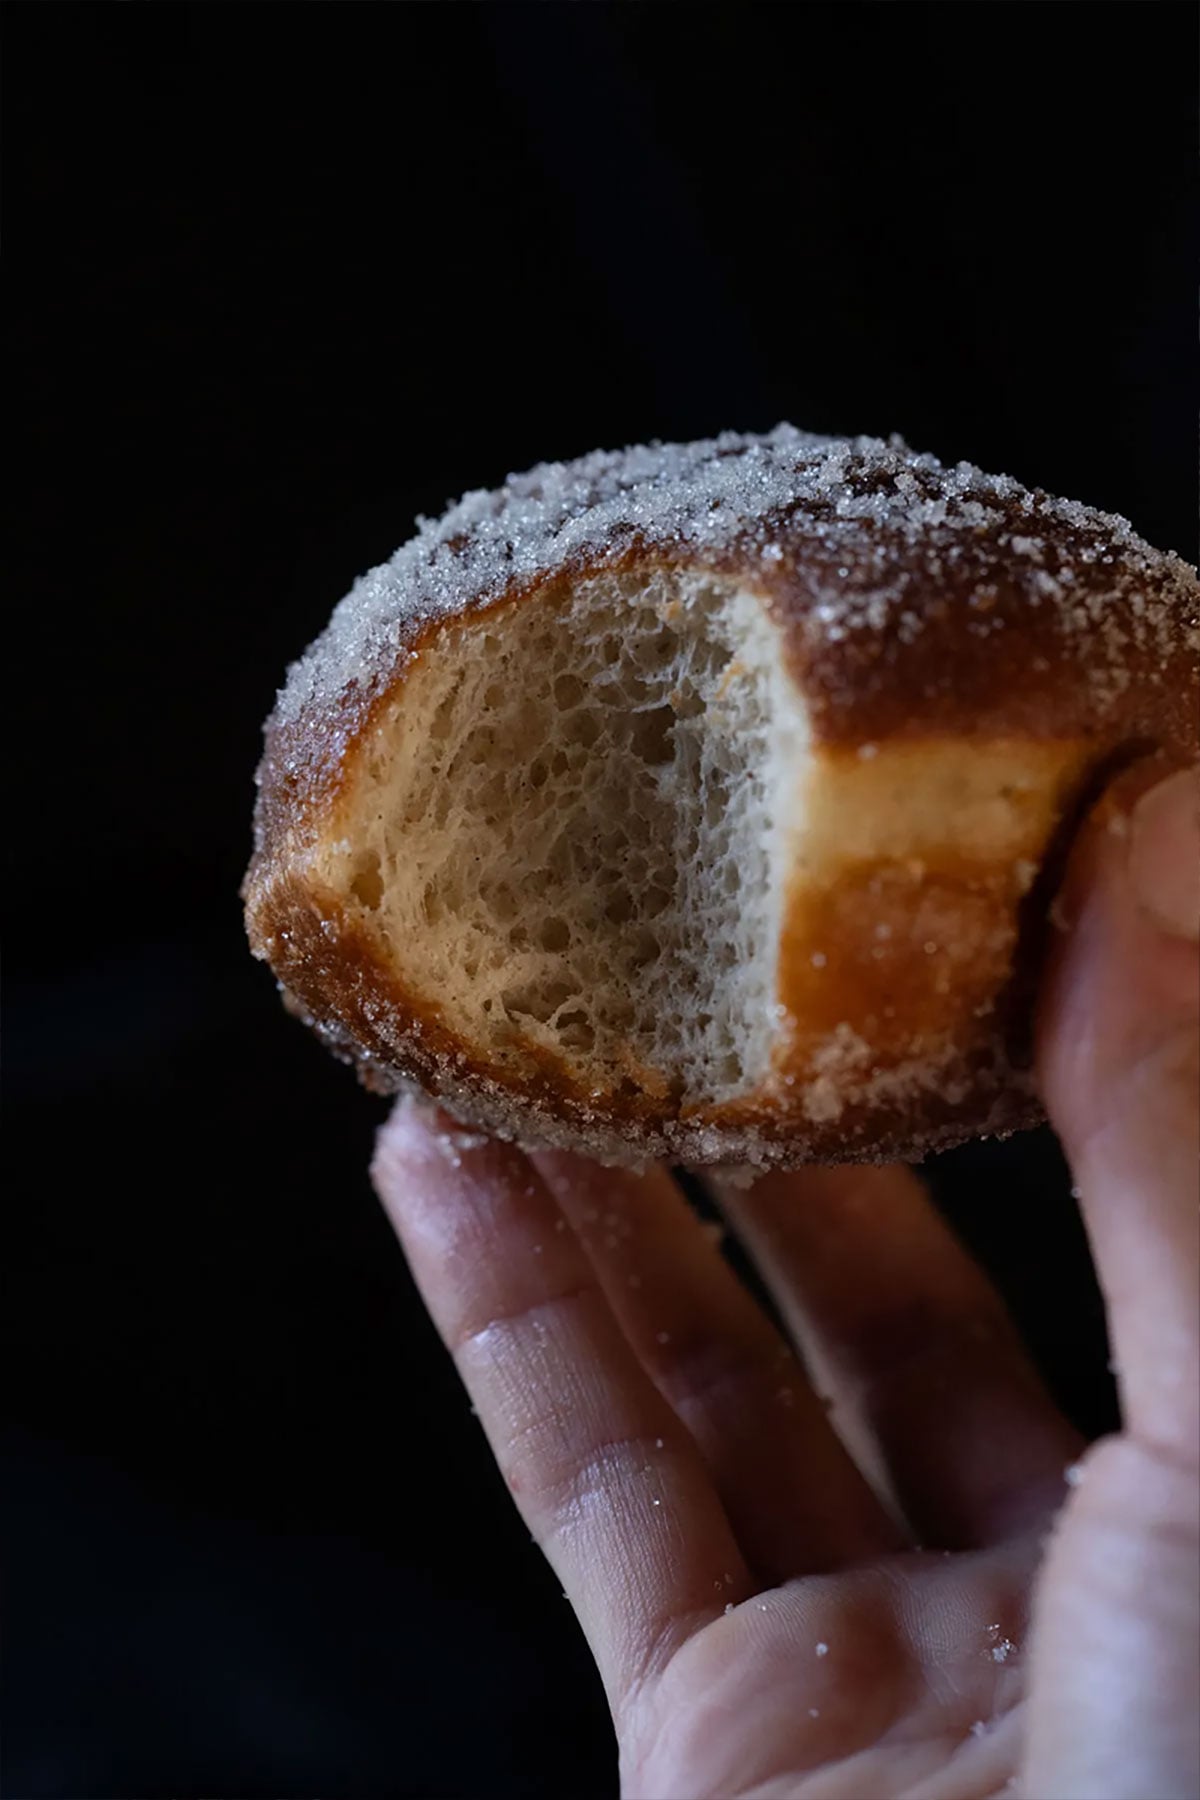
Sourdough Donuts
the fluffiest (of the fluffiest!)
A fantastic traditional donut- robust yet delicate and fluffy. Perfect for filling up with a jelly or a custard (a la Boston cream!), or simply frying up as a ring and doing a delicious glaze.
p.s. this dough is terrific for making fritters too!
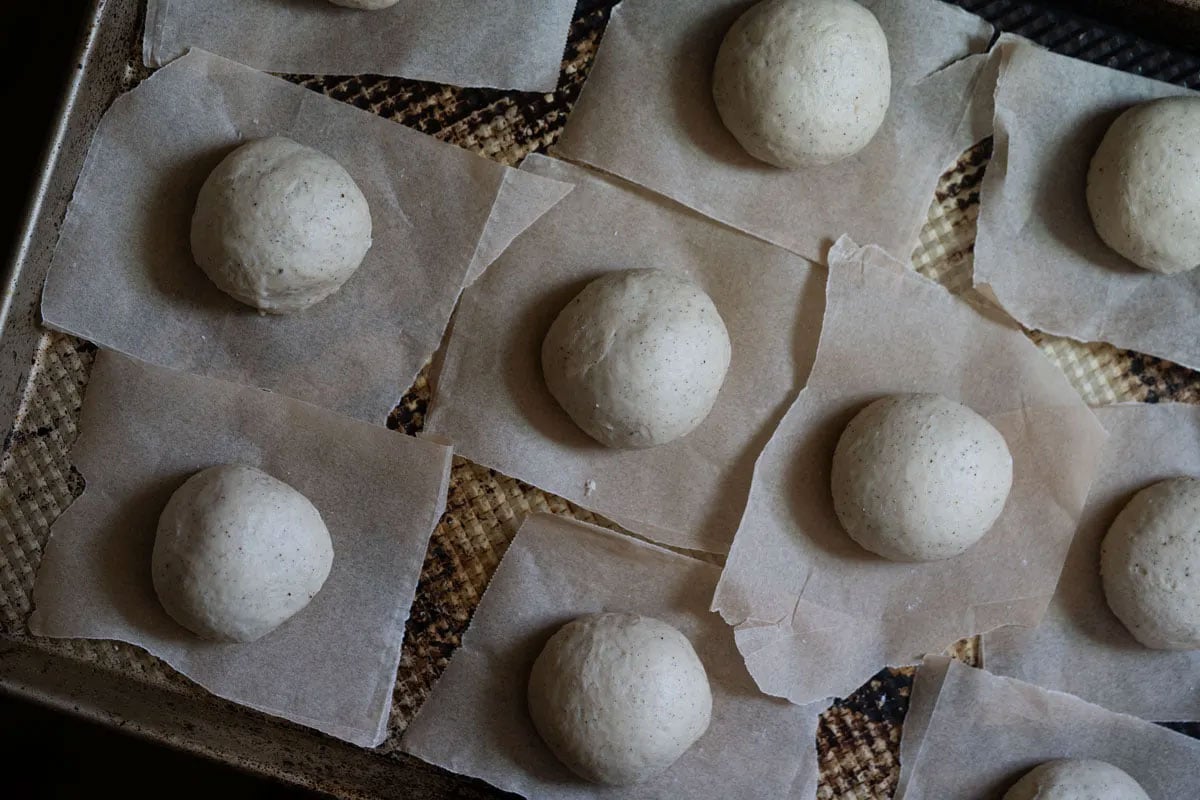
the deets
Mix. Proof. Shape. Rest. Fry!
Honestly, whipping up these sourdough donuts is easy peasy- just require a little patience to let them proof properly- but you’re effectively halving the proofing time by whipping them up using a sweet stiff starter vs your regular active sourdough starter.
Just make sure to fry them once the dough is nice and airy (i.e. well proofed). Like this:
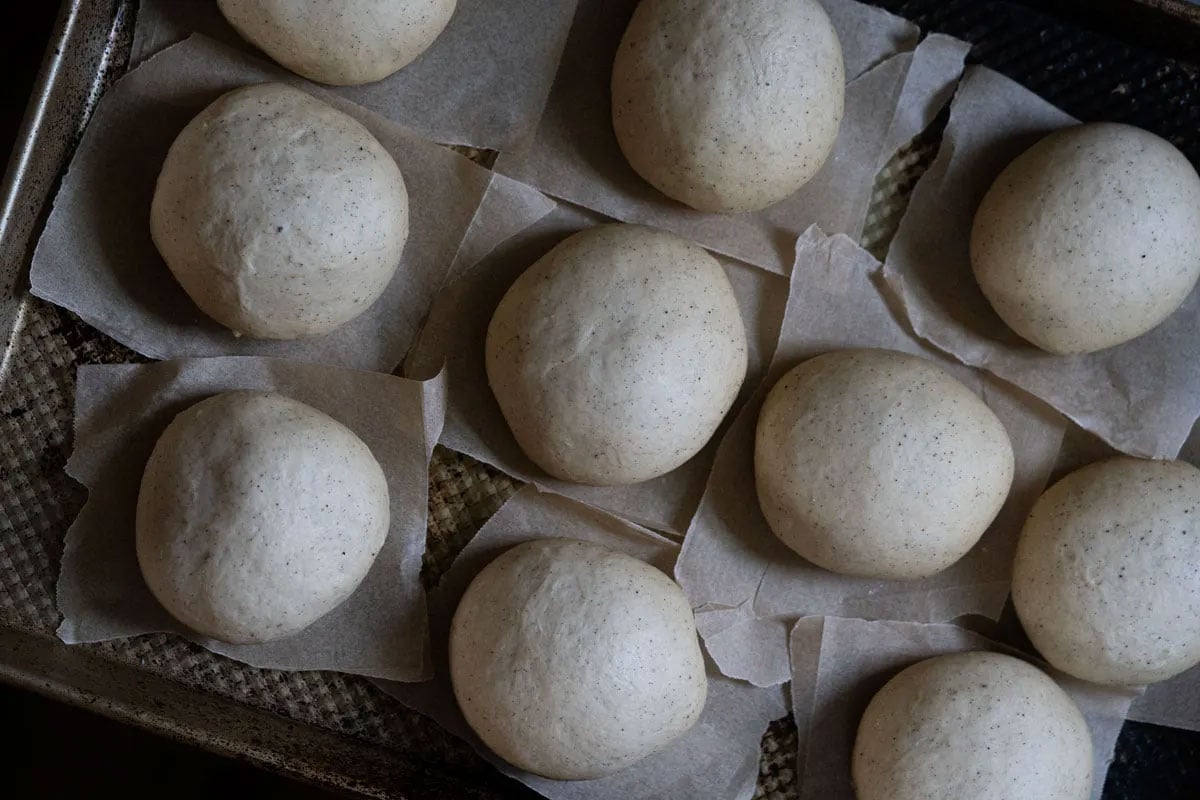
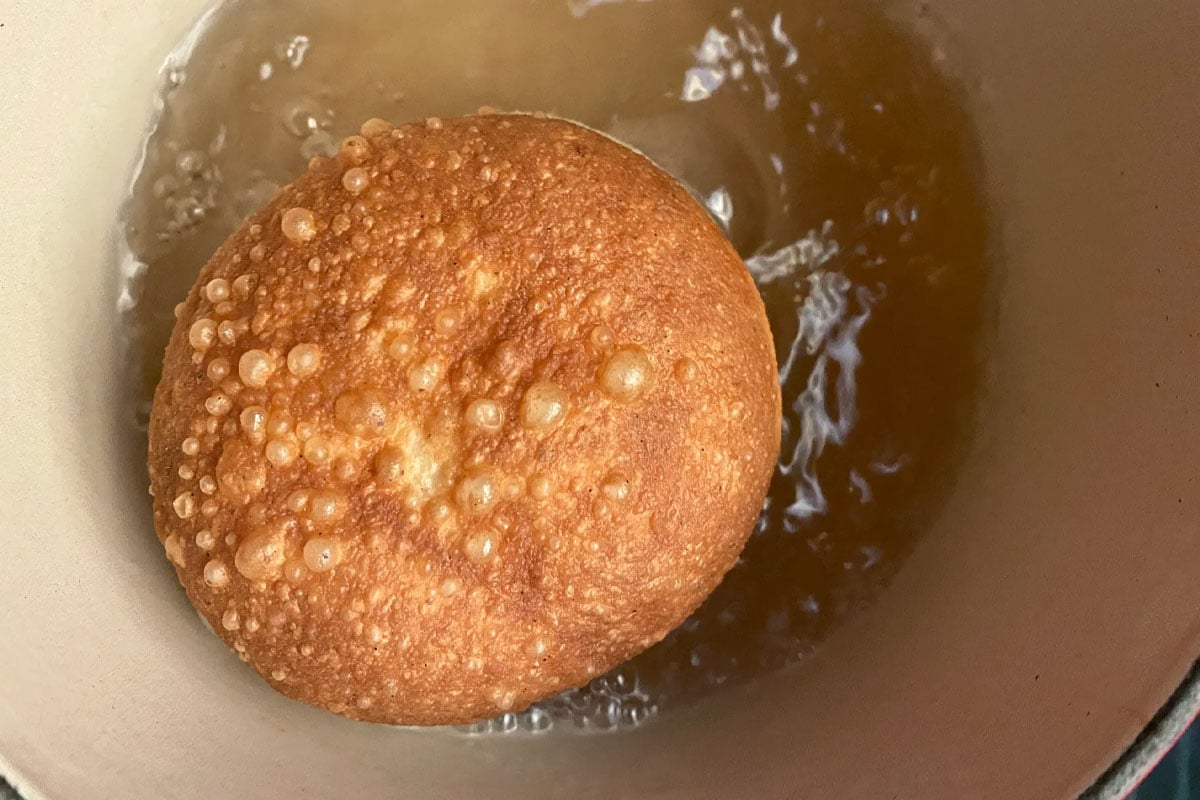
So they fry extra airy (like this!):
using a sweet stiff starter
If you’ve been a reader of my newsletter for a bit (cue in my excessively fluffy sourdough cinnamon rolls), you’ll know that I favor whipping up a sweet stiff starter (sss) when I’m aiming for a sourdough bread that requires extra fluffiness (and could use less tanginess)– cue in our donuts today, which would generally require with sourdough to throw in a pinch of instant yeast to achieve the desired rise ‘n crumb.
Because rather than bake with just your active sourdough starter, you’ll use it to create a sweet starter (i.e. a levain) made out of flour, water and sugar. It’ll be stiff like a dough (so you’ll be actually kneading it to incorporate it), then you’ll let it rise until it triples for 8-12 hours and then make your dough.
And while it sounds like it’ll just add more time to the process, it also effectively halves the bulk proofing time and you’ll see it create the lightest (and most intricate) web of gluten courtesy of simple chemistry. So if you plan ahead and whip up your sss (you can keep it in the fridge once it’s doubled), you’ll be baking in a matter of hours rather than having to wait a day to see the fruits of your labor.
fun fact: artisanal bakeries in Italy maintain a sss for rich breads such as panettone– so if you fancy your sourdough with less of a tang and more of a fluff, consider maintaining a sss too.
You see– by adding sugar to the sourdough starter equation you’re creating osmotic stress, which in turn limits the reproduction of bacteria in your culture (responsible for the generation of lactic acid), therefore resulting in a much less sour dough.
But the imbalance doesn’t end there as yeast cultures in turn take over, leading to what I can only describe as truly impressive fluffiness.


(The Fluffiest!) Sourdough Donuts
Ingredients
for the sweet stiff starter
- 120 g bread flour
- 50 g spring water
- 40 g active sourdough starter
- 20 g sugar works better than honey
for the dough
- all your sweet stiff starter
- 1 large egg at room temp
- 1 egg yolk
- 24 g raw honey maple syrup or granulated sugar of choice
- 160 g whole milk at room temp
- 330 g unbleached bread flour*
- 6 g fine sea salt
- 56 g unsalted grass-fed butter at room temp
for frying
- beef tallow or lard or coconut oil (or your frying oil of choice)
Instructions
6 p.m. feed your starter
- VIP (time saving) note: if your starter is active enough that you trust it to double in size after every feeding (i.e. it hasn't been languishing in the fridge for months), feel free to skip this section and whip up your sweet stiff starter using your unfed starter.
- Add 50g of flour to feed your starter (you need just 40g of active starter for the recipe, so it depends on how big you keep your starter (and if you’re taking yours out of the fridge you’ll most def need to do one feeding before it’s strong enough to bake with).
- Add 50g spring water (you don’t want filtered, you really do want the added minerals)(this should tell you something too about what you should be drinking too btw 👀) and mix until the dough resembles a thick pancake batter.
- Allow to rest for 3-6 hours in a warm(ish) place until doubled in size.
9 p.m. make your sweet stiff starter
- Add all your ingredients (flour, water, starter & sugar) to a medium bowl and knead them together until a stiff dough emerges (just ensure there are no pockets of flour).
- Form a round, transfer to a wide-rim jar and allow it to proof in a warm spot until tripled in size (8-12 hours).
- Note: know that you can refrigerate your sss for 12-24 hours once its nearly tripled, just bring it back to room temperature before baking with it.
7 a.m. make your dough
- My best advice: just ensure everything is at room temp to give your culture the best fighting chance (and watch the recipe video for the shaping). Other than that, you’ll be surprised how simple the process is (and how little you have to do, it just takes time).
- Add sweet stiff starter, eggs, honey, to the bowl of your stand mixer and mix, until just combined, using the paddle attachment. Add in the milk and mix again.
- Set your mixer on low and add the flour in parts until just combined. Add in the salt and continue mixing until everything looks nice and incorporated (about a minute). Yup, the dough is pretty sticky at this point!
- Cover with a damp paper towel and let it rest for 30 minutes.
- Switch to the dough hook attachment on your mixer and “knead” on medium speed for 8-10 minutes, adding a pad of butter at a time (it really needs to be at room temp so that it incorporates seamlessly!) . The dough will be sleek and pull away from the sides at this point (if it isn’t, just sprinkle a tad of flour at a time, think a tablespoon or two, and kneed for a bit longer).
- Your dough should be at (or very near) windowpane by now– test it by stretching it, you want it to be translucent. If it feels a bit stiff don’t worry, knead it for a couple more minutes, let it rest for thirty minutes and do a set of stretch and folds (the sourdough cultures will take care of it).
- Transfer to a smaller bowl for the bulk rise (as it’s easier to gauge the rise if you can actually mark it with a sharpie) and cover with cling film.
- Allow to proof in a warm spot for 3-5 hours, or until at least doubled in size (but I generally let mine go until it almost tripes as I personally find it easiest to digest).
- Note: once it doubles is a good time to refrigerate the dough if you don’t intend to make your donuts the same day.
shape (watch video for deets)
- Line a baking tray with parchment paper and set aside.
- Lightly flour your working surface, turn the dough out (feel free to give it a good punch!) and stretch it out gently (allow it to rest for 10 minutes if it “feels” like it’s resisting)(you’ll know, trust me!).
- Divide dough into 12 equal pieces. Flatten it out with your hands and fold in "the edges” in to form it into a round. Gently roll it against the counter a few times in order to create tension (which is what ultimately gives us the super nice fluff when proofing).
- Cover with a light kitchen towel (or oiled cling film) and allow to rest until nice and fluffy (about 1-2 hours).
- Add enough cooking oil of choice and heat up over medium/high heat until temp reaches 360-370°F / 182-187°C (if I’m frying small amounts I’ll do it in a saucepan with just a few fingers of depth)(but do know that oil can be reused, just drain it properly of any solids).
- Fry for 2 1/2-3 minutes on each side, or until nicely browned– keeping an eye on the oil temperature to ensure even cooking.
- Dunk in sugary coating of choice right away and allow to rest for 15 minutes before filling (or until at room temp, particularly if you’re opting for pastry cream rather than jam).
- And devour right away for prime freshness 😋
Video
