An ode to the most famed Mexican pan dulce, these sourdough conchas are ultra buttery and light curtesy of using a sweet stiff starter.

Sourdough Conchas 🐚
i.e. Mexican Pan Dulce
As many of you know, I grew up in Mexico City– i.e. I know my conchas.
Think afternoon strolls to our local panederia in Colonia Roma to procure fresh pan dulce (and we’re talking late 80s early 90s here, so not a hipster in sight). For it was not a trendy neighborhood back then, just a little corner in a bustling metropolis of over 25 million people (gasp).
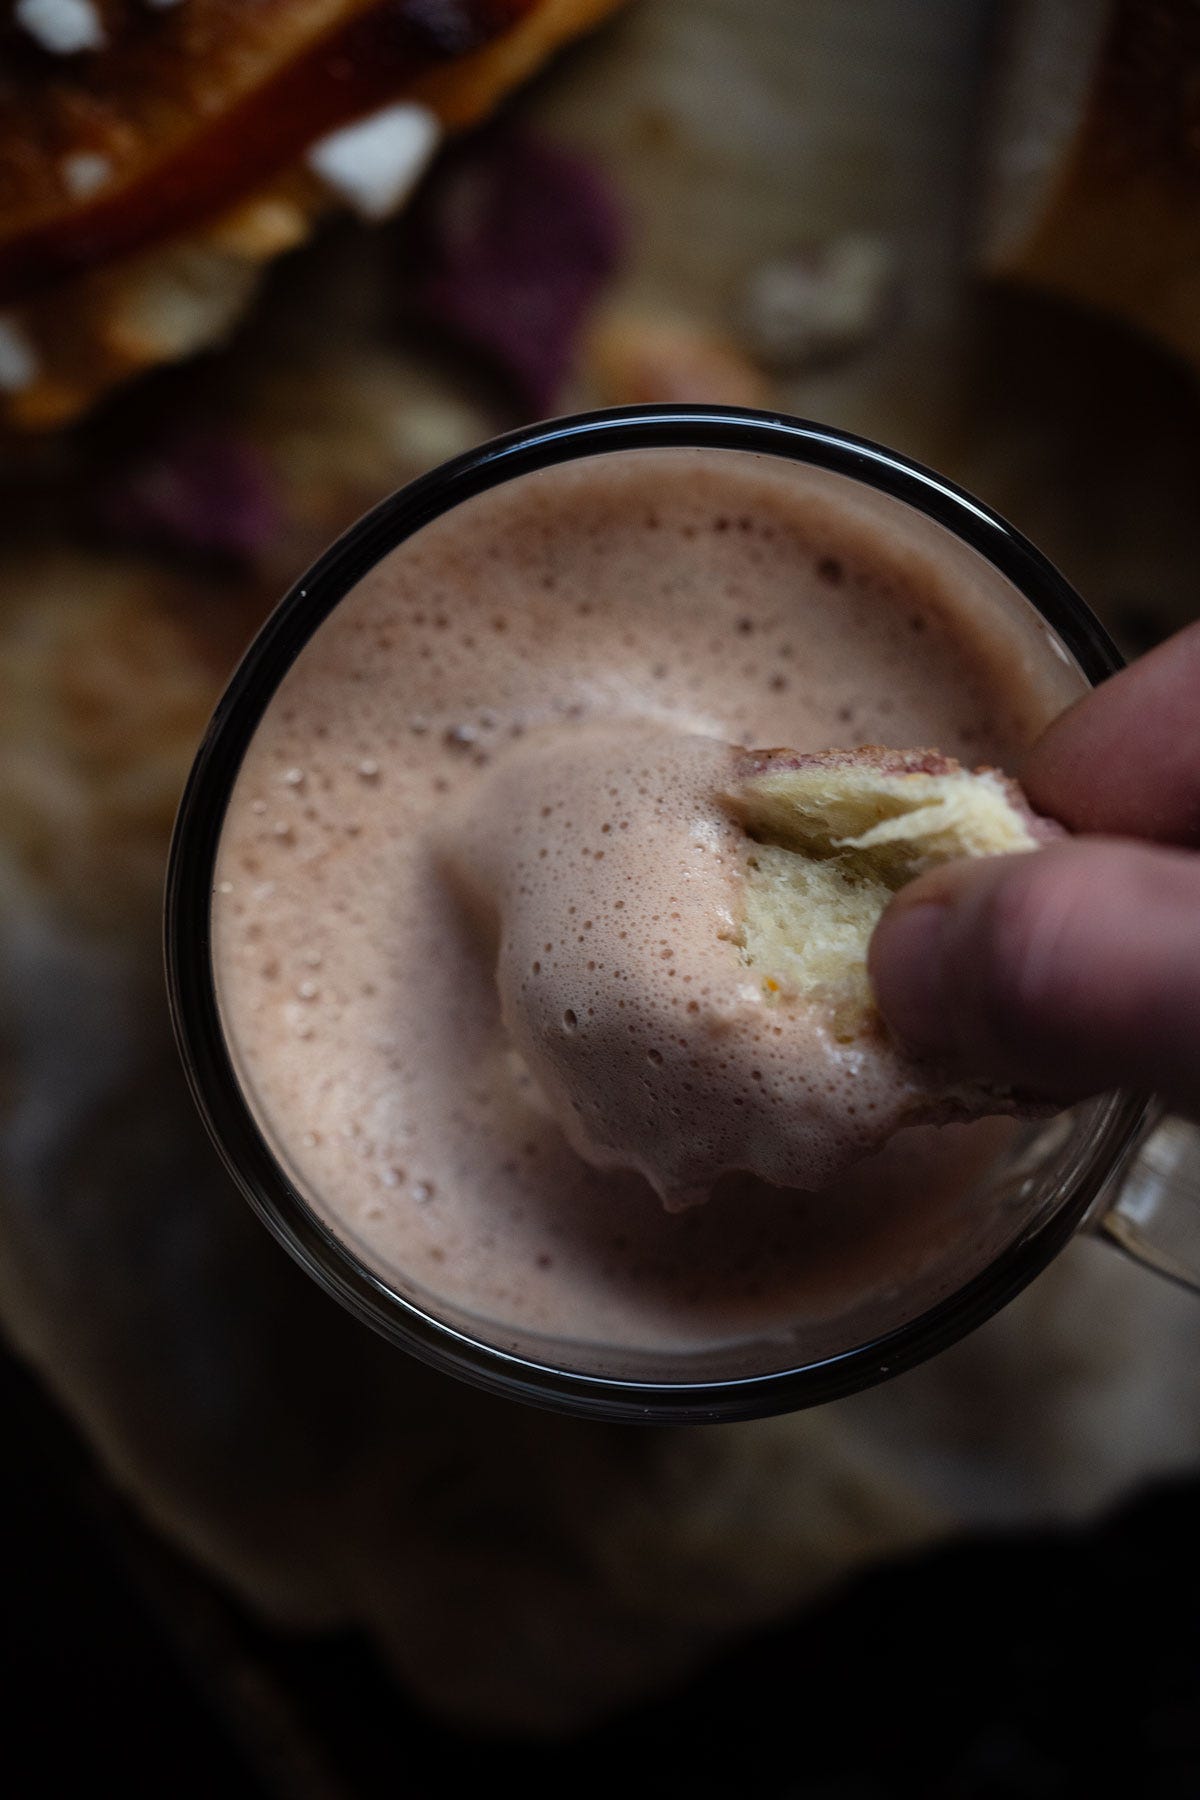
And the summer ritual was simple: a brief reheat coming home (being ultra careful not to scorch the sugary topping) and a non negotiable paring with a frothy hot chocolate (you might call it “Mexican”, I just knew it as un chocolatito caliente)(and Abuelita might be the most famous brand, but Ibarra is my personal choice for both taste and ingredients).
Because while many of you might picture summers in Mexico City as ultra warm and tropical, afternoons are in fact pleasantly cool being that high up in the mountains (think 7,349′ above sea level!)– so we’re typically met with a good rain storm (or three).
But without further ado I give you my sourdough take on my favorite childhood treat: Mexican conchas– a fluffy and ultra buttery brioche bun with hints of orange, topped with a crunchy chocolate and strawberry marbled croston.
using a sweet stiff starter
If you’ve been a reader of my newsletter for a bit (cue in my excessively fluffy sourdough cinnamon rolls), you’ll know that I favor whipping up a sweet stiff starter (sss) when I’m aiming for a sourdough bread that requires extra fluffiness (and could use less tanginess)– cue in our conchas today, which would generally require with sourdough to throw in a pinch of instant yeast to achieve the desired rise ‘n crumb.
Because rather than bake with just your active sourdough starter, you’ll use it to create a sweet starter (i.e. a levain) made out of flour, water and sugar. It’ll be stiff like a dough (so you’ll be actually kneading it to incorporate it), then you’ll let it rise until it triples for 8-12 hours and then make your dough.
And while it sounds like it’ll just add more time to the process, it also effectively halves the bulk proofing time and you’ll see it create the lightest (and most intricate) web of gluten courtesy of simple chemistry. So if you plan ahead and whip up your sss (you can keep it in the fridge once it’s doubled), you’ll be baking in a matter of hours rather than having to wait a day to see the fruits of your labor.
fun fact: artisanal bakeries in Italy maintain a sss for rich breads such as panettone– so if you fancy your sourdough with less of a tang and more of a fluff, consider maintaining a sss too.
You see– by adding sugar to the sourdough starter equation you’re creating osmotic stress, which in turn limits the reproduction of bacteria in your culture (responsible for the generation of lactic acid), therefore resulting in a much less sour dough.
But the imbalance doesn’t end there as yeast cultures in turn take over, leading to what I can only describe as truly impressive fluffiness.
⭐ brownie points ⭐: I also added a touch of almond flour here too to ensure that your bread keep fresh for longer (as we all know it’s a race against staleness after the first 24 hours). So think of almond flour as a natural moisture preservative– releasing its oils post bake, keeping it moist and tender (yup, even after freezing they reheat unbelievably well)
I’m excited for you guys to try these two little knickknacks, that lead to big changes.
the (little) deets
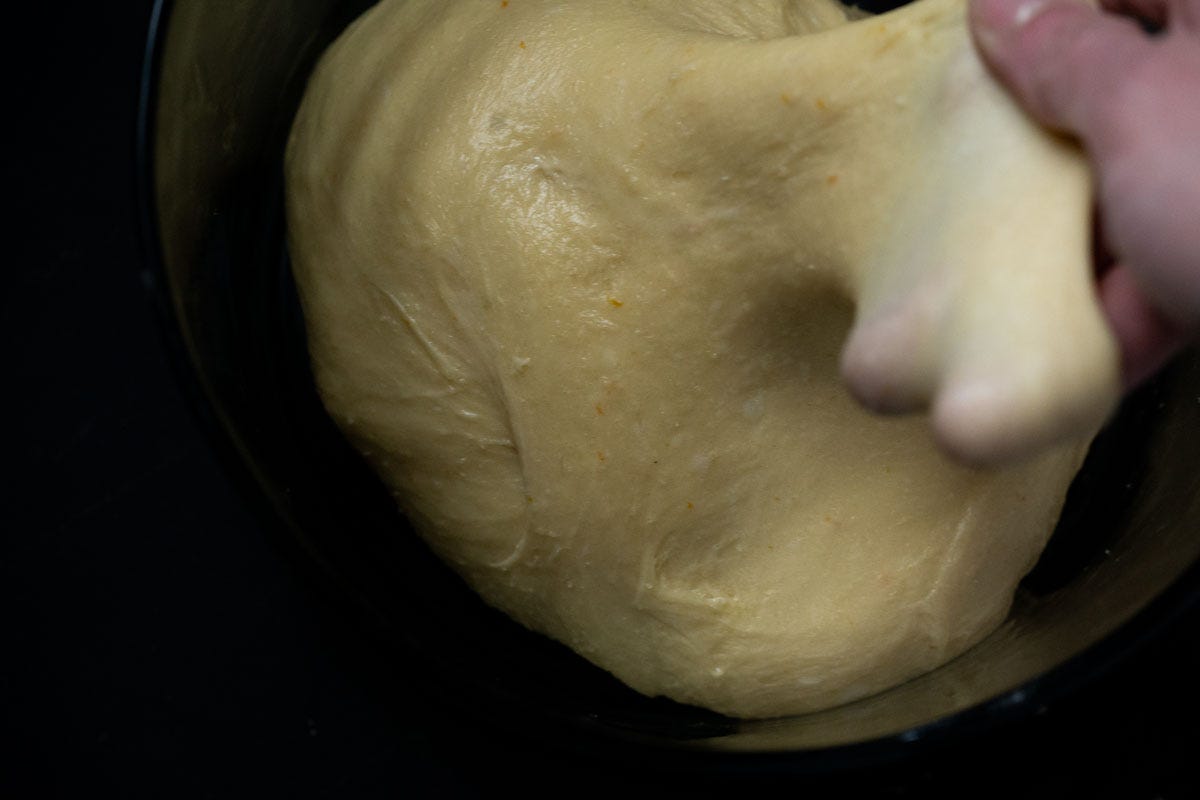
The most important thing to take care of when whipping up a sourdough brioche-like dough (with a high butter and egg content) is to ensure proper gluten development when mixing in the butter– i.e. windowpane.
With a stand mixer it’s simple, you simply want to add the softened butter little by little and mix on low/medium speed with your dough attachment until soft and stretchy (takes roughly 15 minutes).
That said, you can totally give it a go by hand (I did when I was in Baja off grid as you can see in the video in the recipe card). But do note that its quite the workout for the arms as it takes roughly 30 minutes to reach the windowpane stage– giving the dough a bit of rest half way through for 10 minutes (you’ll notice the gluten will develop naturally by letting it rest a bit).


Sourdough Conchas (i.e. Mexican Pan Dulce) 🐚
Ingredients
for the sweet stiff starter
- 120 g bread flour
- 50 g spring water
- 40 g active sourdough starter
- 20 g sugar works better than honey
for the dough
- all your sweet stiff starter
- 2 large eggs at room temp
- 2 egg yolks
- 50 g raw honey maple syrup or granulated sugar of choice
- 60 g cane sugar
- 2 teaspoons orange blossom water agua de azahar imparts unbeatable light floral notes… but can be skipped if you don’t have on hand
- zest of 1 orange
- 100 g whole milk at room temp
- 350 g unbleached bread flour*
- 6 g fine sea salt
- 120 g unsalted grass-fed butter at room temp
- 60 g almond flour optional, but will keep your bread extra moist
for the crostón (i.e. sugary topping)
- 100 g unsalted grass fed butter soft enough to spread
- 70 g icing sugar (you can add up to 100g if you like them sweeter)
- 120 g all purpose flour
- 10 g cocoa see notes for strawberry
- 1 teaspoon vanilla extract
- pinch fine sea salt
- 1 egg lightly whisked (to adhere the croston onto the conchas)
to serve with
- Mexican hot chocolate go for Ibarra rather than Abuelita (pretty pls!)
Instructions
6 p.m. feed your starter
- VIP (time saving) note: if your starter is active enough that you trust it to double in size after every feeding (i.e. it hasn't been languishing in the fridge for months), feel free to skip this section and whip up your sweet stiff starter using your unfed starter.
- Add 50g of flour to feed your starter (you need just 40g of active starter for the recipe, so it depends on how big you keep your starter (and if you’re taking yours out of the fridge you’ll most def need to do one feeding before it’s strong enough to bake with).
- Add 50g spring water (you don’t want filtered, you really do want the added minerals)(this should tell you something too about what you should be drinking too btw 👀) and mix until the dough resembles a thick pancake batter.
- Allow to rest for 3-6 hours in a warm(ish) place until doubled in size.
9 p.m. make your sweet stiff starter
- Add all your ingredients to a medium bowl and knead them together until a stiff dough emerges (just ensure there are no pockets of flour).
- Form a round, transfer to a wide-rim jar and allow it to proof in a warm spot until tripled in size (8-12 hours).
- Note: know that you can refrigerate your sss for 12-24 hours once its nearly tripled, just bring it back to room temperature before baking with it.
7 a.m. make your dough
- My best advice: just ensure everything is at room temp to give your culture the best fighting chance (and watch the recipe video for the shaping). Other than that, you’ll be surprised how simple the process is (and how little you have to do, it just takes time).
- Add sweet stiff starter, eggs, honey, sugar and orange flavorings to the bowl of your stand mixer and mix, until just combined, using the paddle attachment. Add in the milk and mix again.
- Set your mixer on low and add the flour in parts until just combined. Add in the salt and continue mixing until everything looks nice and incorporated (about a minute). Yup, the dough is pretty sticky at this point!
- Cover with a damp paper towel and let it rest for 30 minutes.
- Switch to the dough hook attachment on your mixer and “knead” on medium speed for 8-10 minutes, adding a pad of butter at a time (it really needs to be at room temp so that it incorporates seamlessly!) . The dough will be sleek and pull away from the sides at this point (if it isn’t, just sprinkle a tad of flour at a time, think a tablespoon or two, and kneed for a bit longer).
- Add your almond flour (optional) and kneed until incorporated. Your dough should be at (or very near) windowpane by now– test it by stretching it, you want it to be translucent. If it feels a bit stiff don’t worry, knead it for a couple more minutes, let it rest for thirty minutes and do a set of stretch and folds (the sourdough cultures will take care of it).
- Transfer to a smaller bowl for the bulk rise (as it’s easier to gauge the rise if you can actually mark it with a sharpie) and cover with cling film.
- Allow to proof in a warm spot for 3-5 hours, or until at least doubled in size (but I generally let mine go until it almost tripes as I personally find it easiest to digest).
- Note: once it doubles is a good time to refrigerate the dough if you don’t intend to bake the same day.
shape (watch video for deets)
- Line a baking tray with parchment paper and set aside.
- Lightly flour your working surface, turn the dough out (feel free to give it a good punch!) and stretch it out gently (allow it to rest for 10 minutes if it “feels” like it’s resisting)(you’ll know, trust me!).
- Divide dough into 12 equal pieces. Flatten it out with your hands and fold in "the edges” in to form it into a round. Gently roll it against the counter a few times in order to create tension (which is what ultimately gives us the super nice fluff when proofing).
- Cover with a light kitchen towel (or oiled cling film) and allow to rest until nice and fluffy (about 1 to 2 hours).
- Make the croston while your conchas are proofing by adding all the ingredients (minus the egg!) to a bowl and mixing with your hands until a sticky dough emerges. Wrap it in cling film and refrigerate for 30 minutes and up to 3 days.
- Form into rounds and roll out between parchment paper when needed (but using a tortilla press makes it easy peasy).
- Gently brush your proofed conchas with egg wash and place the croston over them. Score the lightly (as you don't want to score the actual dough!) so it resembles sea shells– either squares or lines are traditional.
- and bake away!
- Preheat oven to 350°F/180°C.
- Bake on the center rack for 20-25 minutes, checking in at minute 15 for over-browning. The top will be a nice golden brown once ready, so keep an eye on it (because I pulled mine out at min 20 and it was beginning to look a little toasty). You can also test for doneness by tapping it on the bottom just like your sourdough loaf- you wanna hear that nice little hollow clunk.
- Allow to rest until it comes down to room temp before serving (trust me, this is one where I’m literally forcing you to hold your horses)(and if you know me I tend to be lenient- but not here!)
- non negotiable: serve with a frothy hot chocolate to liberally dunk in
- and feel free to store in an airtight plastic bag (yup, no exceptions here either!), and it’ll keep for a good week this way– simply reheat it for 6-7 minutes at 350.
Video
